How to process data in LiGeoreference
1. Import your data to your computer, this includes the project folder created by your sensor, your base files, and images if you need colourization.
- Make sure you put the project folder in a place the program can easily access, like your desktop. If you process the data on onedrive or a different storage system, sometimes it won't work properly
2. Place your rinex base files into the base folder of your project
3. Place your images into the cam folder (Cam>Images>Cam1)
4. Open LiGeo and open your project folder. Then open the .live file that was generated by your sensor.
5. First we will run through the POS process. Uncheck all the workflows other than POS Process.

6. Click Settings and POS Process
7. Your IMU File should automatically be selected. Adjust your settings according to the mission you flew and add your base files. Generally it should look something like this:
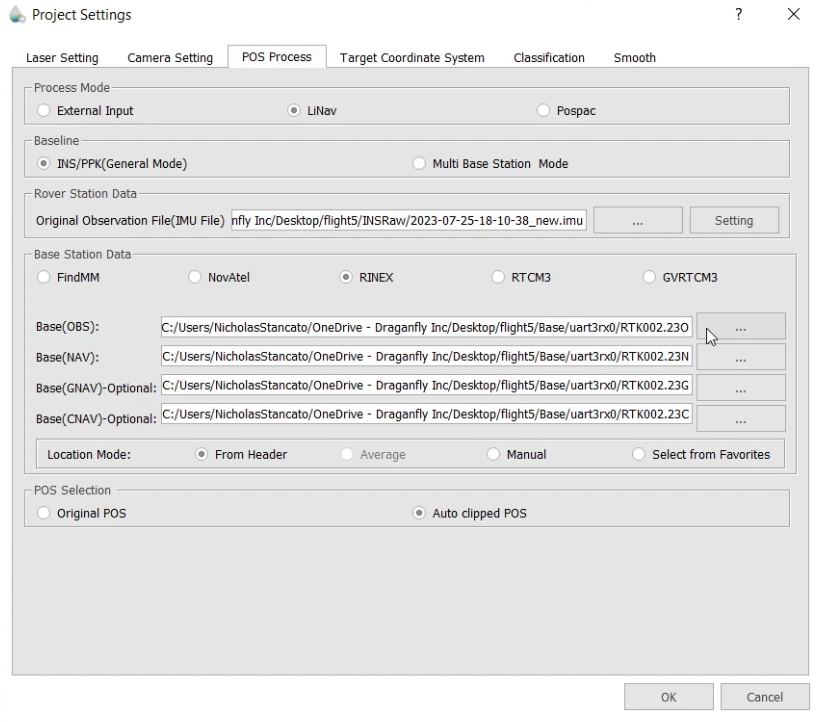
You can set your base location manually if you know it, otherwise keep it at from header
8. Click on Target Coordinate System and set it to your desired coordinate system
9. Click OK and then click start.
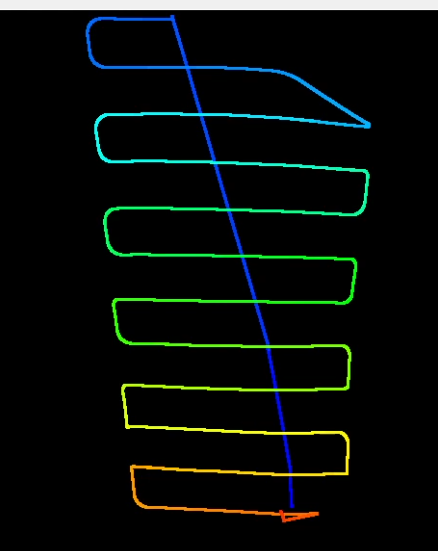
10. Once this process completes, you should see your adjusted trajectory
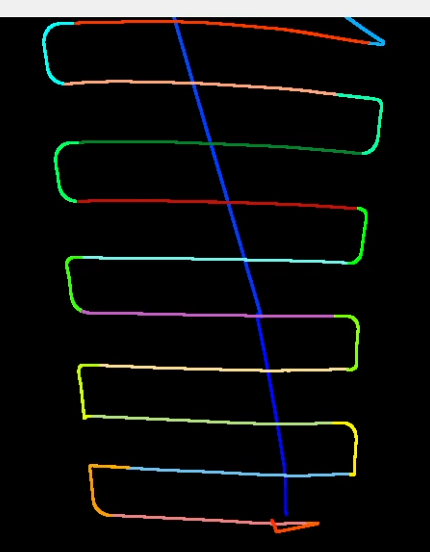
11. Click on Select on Trajectory. Using this tool, select the flight lines on your trajectory that you want included in your final data. Normally we only want to include the straight lines as where the sensor is turning it wont be as accurate.
12. Select each line and it should look something like this:
13. Now check the georeference workflow (unckeck all the others) and click start. This will begin generating the point cloud. Once this completes you should see your point cloud
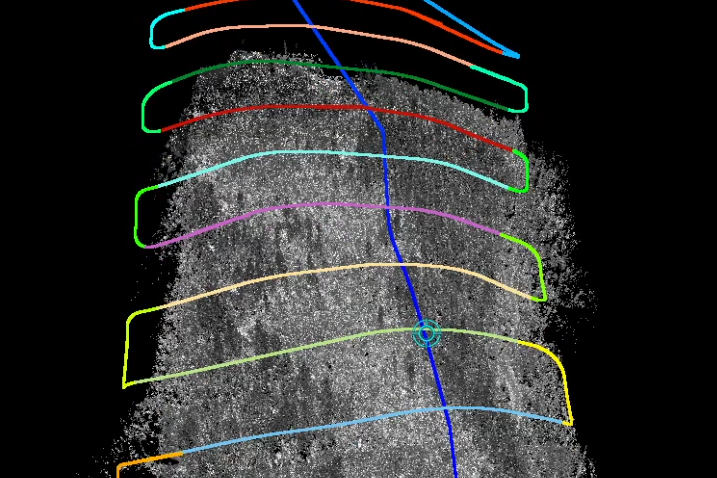
14. Now you have generated your point cloud. You can now use the profile tool to check the accuracy of the data, and use the rest of the tools to finish up in this program